Localising a project in Trinket
The content of example Trinket projects may need to be translated to another language in addition to the Sushi Cards that reference them.
It may also be necessary to re-take screenshots showing the localised content.
To do this, open the project (Trinket) for editing and change the content of the code files as required. Note: the code itself (HTML tags, CSS, JavaScript) should not be changed! Only the content, i.e. the text that appears on the resulting website.
The main part of the page is broken into two panels. On the left is where you write your code. The different code files appear as tabs. On the right is a preview of the resulting website.
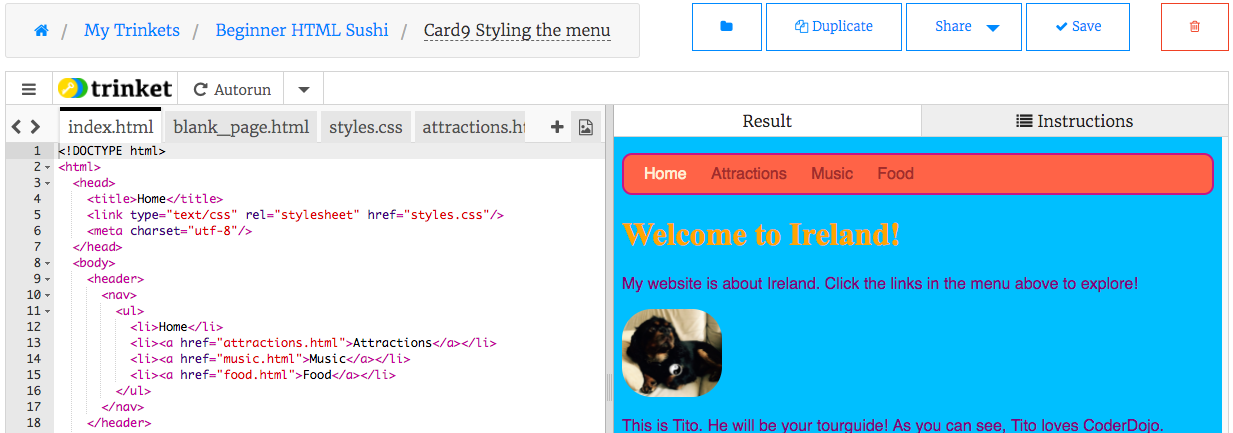
The Save button is to the top right above the website preview panel. Remember to save regularly!
Just above the tabs in the code panel, click the icon and select either "Click to Run" or "Autorun".
- Click to Run: Recommended. Any time you have made changes to your code, click the button to see the result.
- Autorun: Your website will be automatically updated every time you make a change to the code. It doesn't always wait for you to stop typing, so this usually results in a lot of flashing of the page while you type. It also thinks there's errors when you haven't finished typing yet, which can be confusing.

Use the < and > icons in the top left corner of the tabs to scroll between them. Click a tab to view and edit that code file.
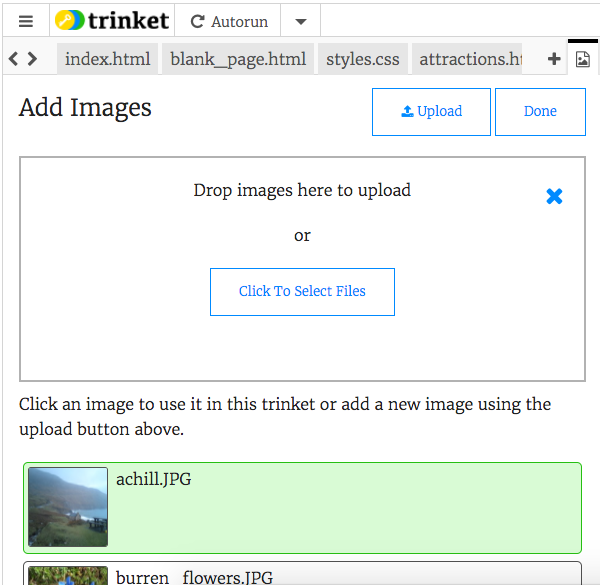
- To add a picture (file):
- Click on the image icon next to the + sign. You will see a list of pictures available in this project uploaded
- Click "+Add Image". All uploaded images are shown, with the already included ones highlighted in green
- Click the additional pictures you wish to add, this selects them
- To upload more pictures, click "Upload" and either select files or drag and drop them in the box shown
- Click Done
- NB: Click Save